Most inventors I've talked to think getting a patent is like renewing a driver's license—fill out forms, pay money, wait for approval. Then they file with the USPTO and reality hits hard. Between examiner rejections, missing documentation, and claims that protect nothing, the actual patent application process separates dreamers from those who do their homework.
You'll need technical precision in your drawings, legal strategy in your claims, and honestly, more patience than seems reasonable. But here's what matters: the work you do before clicking "submit" determines whether your patent gets approved or joins the 50% that die during examination. Every stage matters, from documenting your first prototype sketch to crafting your response when an examiner says "no" for the third time.
What Happens Before You File: Pre-Application Essentials
The homework phase makes or breaks your application. Skip it, and you're the inventor who spent $8,000 only to discover someone patented the same thing in 1997.
Conducting a Prior Art Search
Prior art means anything publicly available before your filing date that describes your invention. Patents, sure. But also doctoral theses, trade show demonstrations, Kickstarter campaigns, even a Reddit post from 2015. Public means public—if someone could have seen it, it counts.
Start with Google Patents because it's free and surprisingly good. Type in functional descriptions, not your product name. If you invented a self-heating coffee mug, search "beverage container heating element" and "portable cup thermal regulation." An examiner won't just look for "self-heating mugs"—they'll find a 1985 patent for heated baby bottles that uses the same heating mechanism you thought was novel.
The patent system added the fuel of interest to the fire of genius.
— Abraham Lincoln
Check espacenet.com for European patents and WIPO's Patentscope for international filings. That German patent from 2008? Still counts as prior art even though it never reached the US market.
Pay a professional search firm $500-$1,500 if your technology is complex. They know classification systems (CPC codes) that organize patents by technical concepts rather than keywords. They'll find the obscure 1970s patent that somehow relates to your invention because both solve fluid dynamics problems, even though one is a fuel injector and yours is a garden sprinkler.
Documenting Your Invention Properly
Author: Rachel Holloway;
Source: skeletonkeyorganizing.com
America switched to first-to-file in 2013, ending decades of first-to-invent rules. Your filing date now beats someone who invented it earlier but filed later. Documentation still matters though—for interference disputes, for proving you didn't steal ideas, for showing investors you're serious.
Get a bound notebook where pages can't be removed without obvious tampering. Number every page. Date every entry—not just the day, include the time if you're making multiple entries. Have someone you trust (not a co-inventor) witness and sign your notebook monthly. Write "Witnessed and understood by (name) on (date)."
Record everything. Your first sketch. Failed prototypes. Why you switched from aluminum to steel. Test results showing the third design cracked under pressure. Material supplier quotes. If you think it's too trivial to document, document it anyway.
Build something physical when you can. The USPTO doesn't require working prototypes anymore (they stopped after too many dangerous inventions exploded in examination rooms), but prototypes reveal whether your invention actually works. I've seen applications abandoned because inventors realized during prototype testing that their "novel" solution violated basic physics. Better to learn that before spending $10,000 on an application.
Choosing Between Provisional and Non-Provisional Applications
Provisional applications buy you time and cost less money upfront. Non-provisional applications actually get examined and can become real patents. Choose wrong and you'll either waste a year or blow your budget before you're ready.
Feature
Provisional
Non-Provisional
Cost to file
Micro entities pay $130, small entities $260, large entities $520
Micro entities pay $320 base plus $1,600-$2,600 in examination fees; small entities double that; large entities quadruple it
What USPTO requires
Detailed description that teaches someone how to make your invention; no formal claims needed; drawings can be informal
Formal claims defining your legal boundaries, professional drawings meeting strict standards, inventor oath, disclosure of all prior art you know about
Does it get examined?
Never—USPTO files it and forgets it until it expires after 12 months
Full examination by a patent examiner who will likely reject your first attempt
Protection period
Grants no patent rights; only locks in your priority date
20 years from your filing date if the USPTO approves it
Can you change your mind?
You must file a non-provisional within 12 months claiming priority to this filing, or you lose your early filing date
Can't go backwards to provisional; can file continuation applications with narrower claims
When it makes sense
You need "patent pending" status before a trade show next month; you're still refining the design; you need proof for investors but lack $15,000 for a full application
Your design is final; you're ready to spend 2-3 years in examination; you have budget for attorney fees and office action responses
Choose provisional when your budget is tight but timing matters. Startups file provisionals before demonstrating at CES or TechCrunch Disrupt. That "patent pending" label lets you show your invention publicly without someone else beating you to the patent office the next day.
Go straight to non-provisional filing when you've finalized your invention and you're ready for the real process. Design patents don't offer a provisional option anyway—it's non-provisional or nothing.
The Seven Core Steps of Filing a Patent Application
These patent filing steps focus on non-provisional utility applications since they're the most common and complex. Design and plant patents follow similar but simplified processes.
Step 1—Determine Patent Type (Utility, Design, or Plant)
Utility patents protect function—what your invention does and how it works. The mechanism inside a lock. A new chemical formula for rust-resistant paint. A software algorithm that compresses video files faster. A method for manufacturing concrete that produces less CO2. If it accomplishes something useful in a new way, it's utility.
Design patents cover only appearance. Think iPhone's rounded rectangle shape or Crocs' distinctive holes. The function doesn't matter—design patents protect ornamental appearance only. They're cheaper (around $2,500 total with attorney fees versus $10,000+ for utility) and faster (12-18 months versus 24-36 months). But they're narrow. Change the hole pattern on those Crocs and you've probably designed around the patent.
Plant patents apply to new plant varieties you've asexually reproduced—cuttings, grafts, tissue culture. Not seeds. A new rose variety with unusual color patterns might qualify. Nurseries file most plant patents, and they're the rarest type.
Here's where inventors mess up: they file for the wrong type. That new garden tool with an ergonomic handle? The mechanism needs a utility patent. The decorative pattern on the handle grip? That's design patent territory. Sometimes you need both.
Author: Rachel Holloway;
Source: skeletonkeyorganizing.com
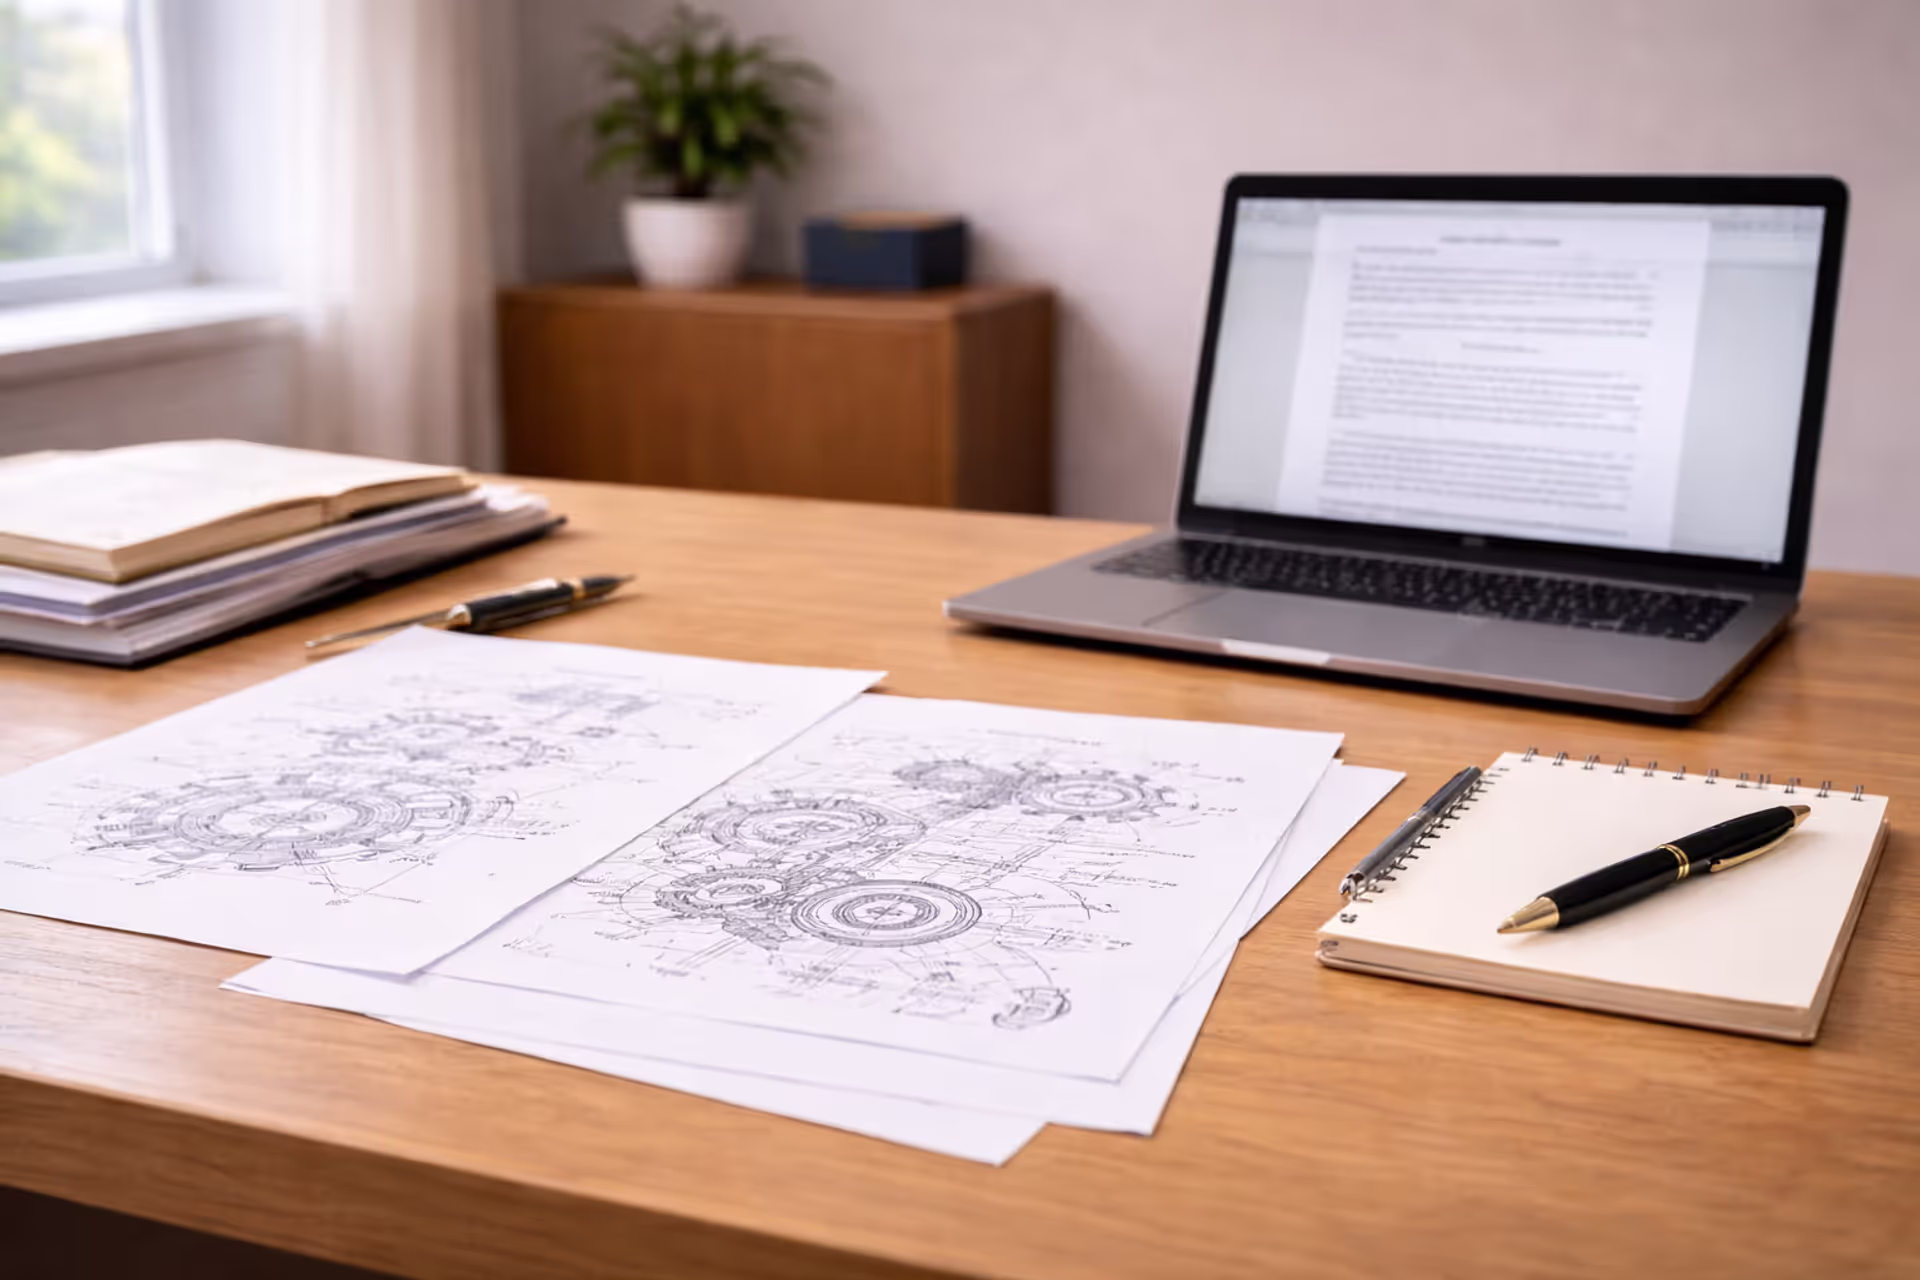
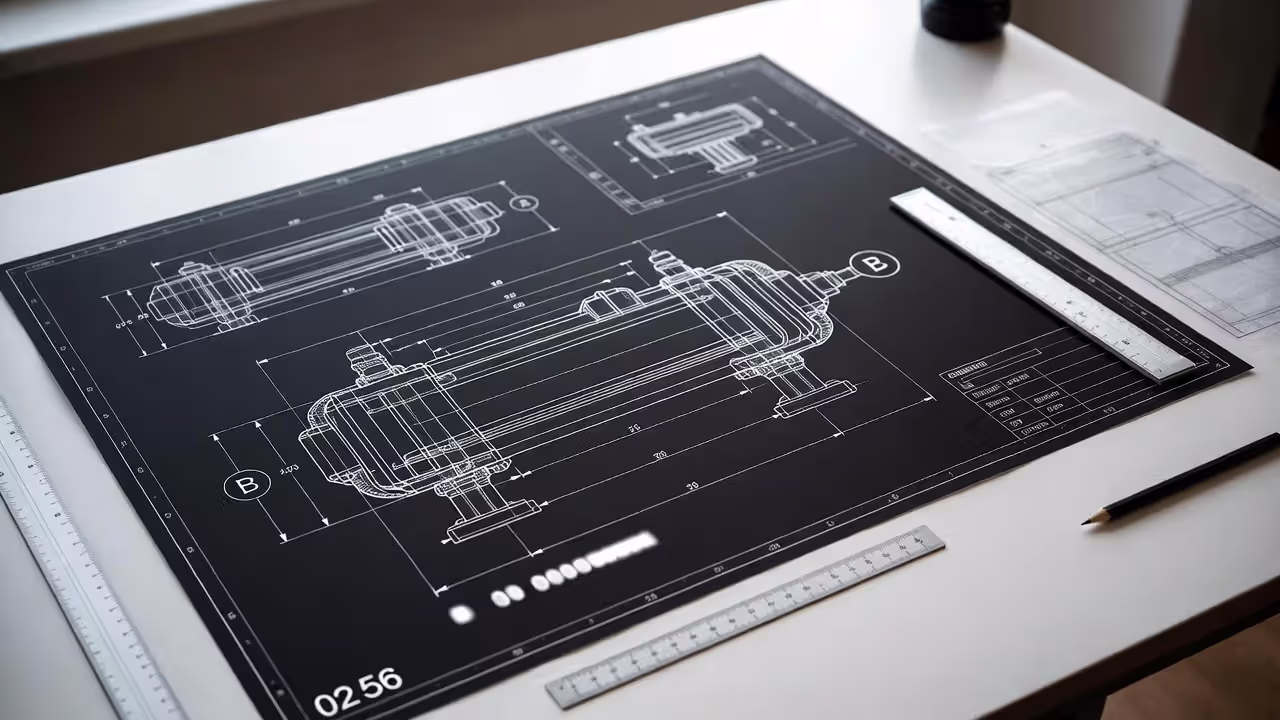
Step 2—Prepare Technical Drawings and Specifications
Your drawings must show every single feature mentioned anywhere in your claims. USPTO requires black ink on white paper, specific line thicknesses, particular shading conventions for different materials, and exact margins that follow rules spelled out across 30 pages of the MPEP. Hire a professional patent illustrator—they charge $50-$150 per sheet, and it's worth every penny because rejected drawings mean resubmitting and paying again.
Show your invention from every angle. Front view, rear view, top, bottom, both sides, and at least one perspective view. Number each part consistently—if item 42 is the mounting bracket in Figure 1, it's item 42 in every figure. Show internal components using cross-sections with proper crosshatching. Exploded assembly views demonstrate how pieces fit together before assembly.
Specifications must describe your invention so completely that someone skilled in your field could build it without further experimentation. This is the enablement requirement, and examiners reject applications that fail it constantly.
Start with background: what problem exists, how others tried solving it, why their solutions fall short. Then describe your invention's structure in excruciating detail. Not "a fastener" but "a stainless steel hex bolt, 8mm diameter, 25mm length, with a nylon lock washer." Not "heated to proper temperature" but "heated to between 185 and 195 degrees Celsius for 45 to 60 seconds."
Step 3—Draft Claims and Abstract
Claims are numbered sentences that define the legal boundaries of what you're claiming to own. Everything else in your application explains and supports your claims, but claims determine what protection you actually get.
Your first claim should be independent—it stands alone, references nothing, and describes your invention broadly. Dependent claims build on earlier claims by adding specific features or limitations. You might have one broad independent claim, then 15 dependent claims narrowing it progressively.
Claims follow rigid grammatical rules. They're single sentences, sometimes running 200 words. Start with a preamble ("A device for cutting materials comprising:"), then list elements in a body ("a handle portion extending from a first end to a second end; a blade portion connected to said first end..."). Use "comprising" when your list is open-ended. Use "consisting of" when only those exact elements should be present—this wording is narrower but sometimes necessary.
Write your broadest defensible claim first. It'll probably get rejected. That's fine—it establishes your maximum protection and forces the examiner to show you what prior art limits your invention. Then you narrow it in later claims or amendments.
The abstract summarizes your invention in 150 words maximum. It won't appear on your issued patent's first page, and it doesn't limit your claims legally. Focus on what's new: "A beverage container includes an internal heating element powered by rechargeable batteries and controlled by a microprocessor that maintains liquid temperature within a user-specified range between 50-90 degrees Celsius for up to four hours."
Step 4—Complete USPTO Forms and Pay Filing Fees
The Application Data Sheet lists inventor names, mailing addresses, citizenship, where to send correspondence, and entity size for fee calculation. File this with your initial application and you can submit the inventor's oath later if needed.
Each inventor signs an oath (or declaration) stating they believe they're the true and original inventor. That "true and original" language matters legally—signing falsely can invalidate your patent even after it issues. If you have a co-inventor, both must sign. Leaving off a legitimate co-inventor or adding someone who didn't actually contribute to the invention creates problems later.
The Information Disclosure Statement lists every piece of prior art you're aware of that might matter. Patents you found during your search. Academic papers. Competitor products. Even that provisional application you filed last year. Withholding known prior art intentionally can render your patent unenforceable through "inequitable conduct." When you're unsure whether something matters, disclose it. Examiners prefer too much information over wondering what you hid.
Fees depend on your entity size. Micro entities are individuals earning under $200,000 or small businesses meeting specific criteria—they pay 25% of standard fees. Small entities have fewer than 500 employees and pay half price. Large entities pay full freight. A micro entity pays around $320 to file, plus $640 for search fees, $160 for examination fees, and eventually $320 to issue the patent. That's just USPTO fees—attorney fees typically run $8,000-$15,000 more for straightforward inventions.
Step 5—Submit Application via EFS-Web
EFS-Web is the USPTO's electronic filing system. Create your USPTO.gov account first, then access EFS-Web through Patent Center or the legacy interface if you prefer the old system.
Convert everything to PDF—specification, claims, abstract, drawings, Application Data Sheet, inventor oath, Information Disclosure Statement, any supplementary forms. EFS-Web validates file sizes and formats before accepting uploads. It'll reject PDFs with security restrictions or files exceeding size limits.
Pay fees using USPTO deposit account (if you have one) or credit card during submission. The system calculates fees based on entity size and what you're filing. Double-check the math—incorrect fees delay processing.
Expect to spend anywhere from 30 minutes to three hours depending on your application's complexity and whether you've used EFS-Web before. The interface isn't intuitive. Save your confirmation number when you finish—you'll need it to track your application's status and prove you filed if the system glitches.
Review everything twice before submitting. Amendments after filing require formal processes and sometimes additional fees. Fixing a typo in your claims costs $200-$400 plus attorney time.
Step 6—Receive Filing Receipt and Application Number
Within 2-5 business days, USPTO emails a filing receipt with your application number. It'll look like "16/234,567" where 16 represents the series code and 234,567 is your specific application. Save this number everywhere—you'll use it constantly for the next 2-3 years.
The receipt confirms your official filing date, which establishes your priority over anyone filing after you. Verify that all inventors are listed with correct names and addresses. Check that fees were calculated correctly and your entity size is accurate. Correcting mistakes now takes a simple letter. Correcting them six months into examination requires formal amendments.
Your application enters the examination queue. For utility patents, first Office Actions typically arrive 18-24 months later. Design patents move faster at 12-18 months. Plant patents fall somewhere between.
Nothing happens during this waiting period. The USPTO doesn't send status updates. Your application sits in a digital queue until an examiner in the appropriate technology center gets assigned to it.
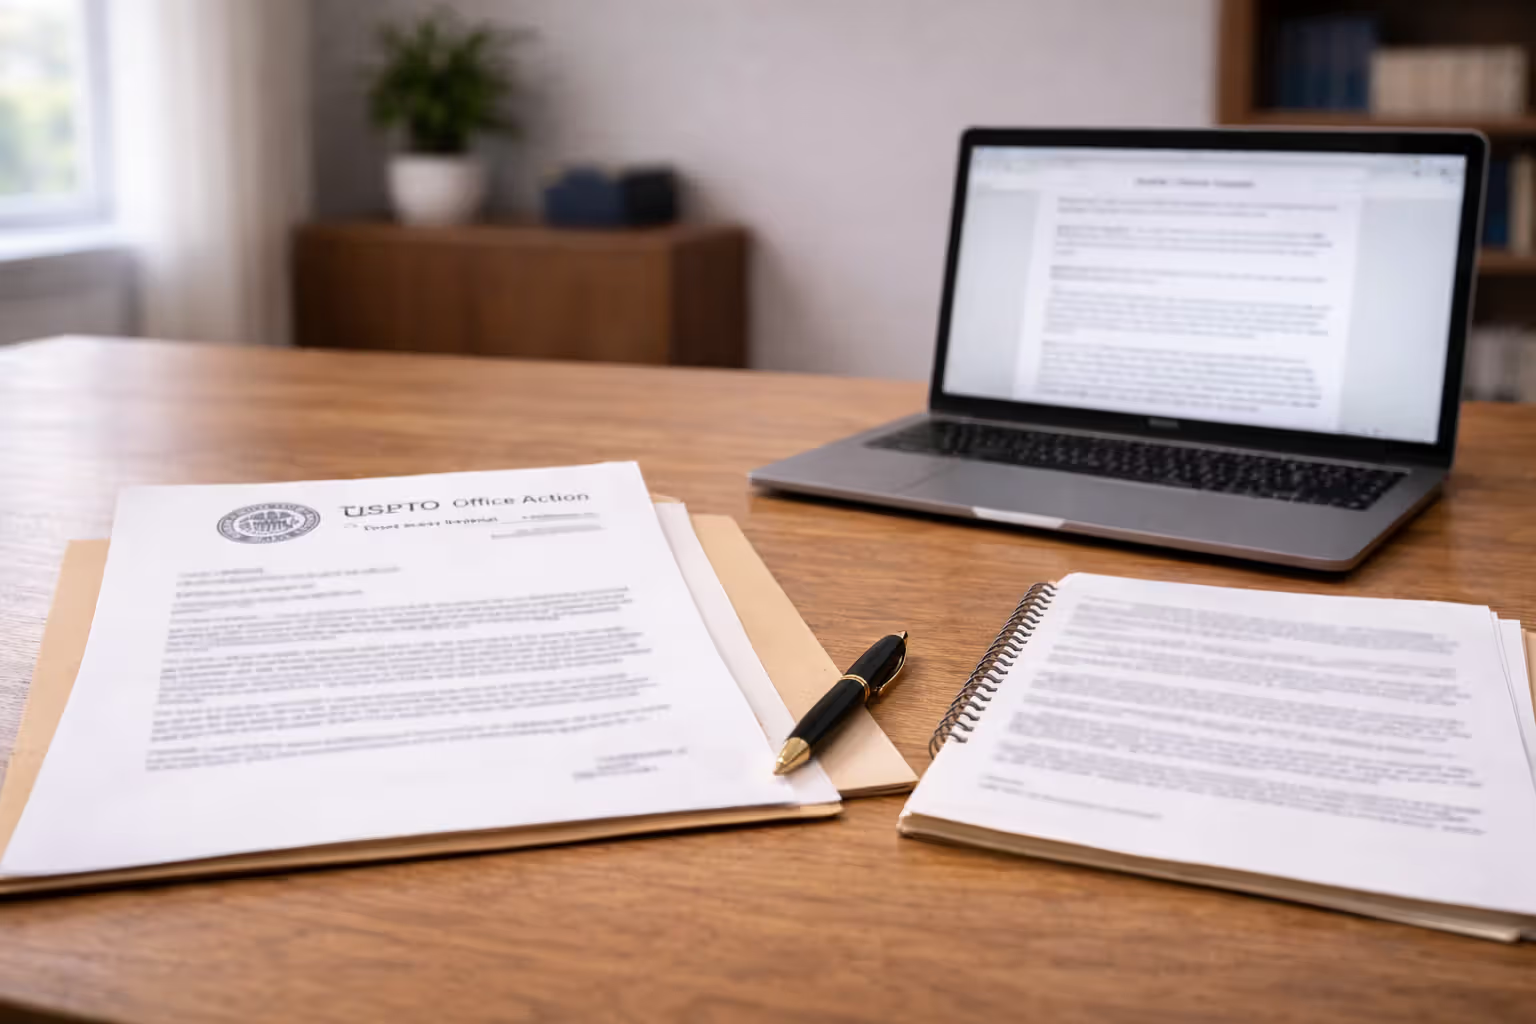
Step 7—Respond to Office Actions
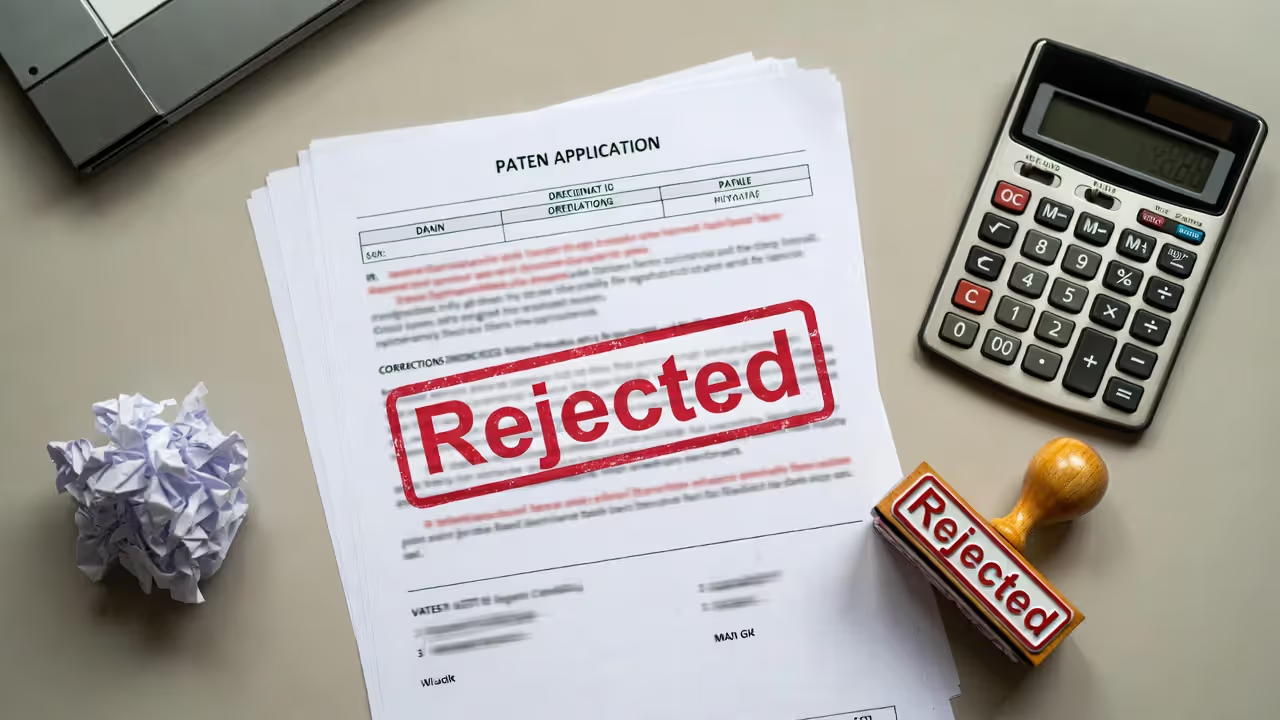
An Office Action is an official USPTO letter explaining why your claims are rejected or objected to. Rejections address patentability—prior art that allegedly anticipates your invention or renders it obvious. Objections address formalities like drawing quality, unclear descriptions, or improper terminology.
Expect at least one Office Action. Statistics show 90% of applications receive initial rejections. Examiners take a hard line initially, and it's your job to overcome their objections through argument or amendment.
Genius is one percent inspiration and ninety-nine percent perspiration.
— Thomas A. Edison
Responses are due within three months. Pay fees to extend your deadline up to six months total, but extensions add $200-$2,000 depending on timing. Don't wait until day 89—if you miss the deadline, your application becomes abandoned and revival costs extra money with no guarantee of success.
Your response must address every rejection and objection individually. You can amend claims to add features that distinguish your invention from cited prior art. You can argue why the examiner misunderstood your claims or misapplied the prior art. Usually you'll do both—amend certain claims while arguing others should be allowed as written.
Claim amendments can narrow scope by incorporating limitations from your dependent claims or your specification. Narrower claims are easier for examiners to allow but give you less protection. You're balancing allowability against commercial value constantly.
After your response, the examiner issues either a Notice of Allowance (you won!) or another Office Action explaining what's still wrong. Prosecution often involves 2-4 rounds of Office Actions and responses spanning 24-36 months before reaching allowance or final rejection.
Author: Rachel Holloway;
Source: skeletonkeyorganizing.com
How Long Does Patent Approval Actually Take?
Timeline expectations matter for product launches, investor presentations, and licensing negotiations. Here's reality, not marketing brochures:
Patent Type
First Office Action
Average Total Time
Expedited Options Available
Utility (standard track)
18-24 months
24-36 months
Track One prioritized examination ($2,880 fee) aims for 12-month completion
Design
12-18 months
18-24 months
Rocket Docket program (no extra fee) targets 12 months for qualifying applicants
Plant
16-20 months
24-30 months
Track One available with same fee
Utility (Track One)
4-6 months
10-14 months
Already expedited
Track One costs $2,880 on top of regular fees but guarantees your application gets examined within 12 months from filing to final disposition. Worth it if you're racing competitors to market or need an issued patent before investor funding closes.
Several factors push timelines beyond these averages. Complex technologies like biotechnology, artificial intelligence, or telecommunications face longer examination because examiners need deep technical expertise. Applications with 30+ claims take longer to review than those with 10 claims. Poorly written specifications generate multiple Office Actions because examiners can't understand what you invented.
Your response speed affects total time too. Taking six months to respond to every Office Action adds a year to prosecution compared to responding within 30 days. Examiners prioritize recently-responded applications sitting in their action queue.
After allowance, add another 2-4 months before your patent actually issues. You'll pay issue fees ($320 micro, $640 small, $1,280 large entity) within three months of your Notice of Allowance. USPTO then publishes your patent and mails the official certificate with its distinctive red ribbon.
Author: Rachel Holloway;
Source: skeletonkeyorganizing.com
Common Mistakes That Delay or Derail Patent Applications
Watch for these problems that kill applications or drain budgets unnecessarily.
Skipping professional prior art searches tops my list. Inventors search Google Patents for an hour, find nothing identical, and assume they're clear. Then an examiner cites a 1987 patent that's similar enough to reject all their claims. Professional searchers cost $500-$1,500 but they access specialized databases and understand classification systems that organize patents by technical function rather than keywords. That investment prevents wasting $10,000 on doomed applications.
Writing vague descriptions that don't teach someone how to make your invention violates the enablement requirement. "Connect the parts using standard fasteners" fails. Which fasteners? What size? How much torque? If someone skilled in your field needs to experiment significantly to build your invention, the examiner will reject it. Specify materials, dimensions, temperatures, pressures, timing—everything needed to replicate your invention.
Claiming too broadly invites obvious rejections. Claiming "a device that heats beverages" covers electric kettles, microwave ovens, campfires, and nuclear reactors—ridiculously broad given thousands of years of prior art. Claim what's actually novel: the specific heating mechanism, control system, or safety feature that distinguishes your invention from what came before.
Submitting amateur drawings violates USPTO's formal requirements. Engineering CAD drawings don't meet standards. Photographs aren't acceptable. Lines must be uniformly black and thick enough to photocopy clearly. Shading follows specific hatching conventions for different materials. Reference numbers must be consistently sized and placed. Professional patent illustrators know these rules and produce drawings that examiners accept immediately.
Ignoring deadlines kills applications permanently. USPTO grants no extensions for "I forgot" or "I was busy." Calendar every deadline in multiple places with reminders starting 30 days early. Patent attorneys use specialized docketing software that tracks deadlines and sends automatic reminders. Missing a response deadline means your application becomes abandoned, and while you can sometimes petition for revival, it costs extra money with no guarantee of success.
Hiding prior art you know about creates inequitable conduct issues. Maybe you found a concerning patent during your search and decided not to disclose it, hoping the examiner wouldn't find it either. If the examiner discovers you knew about relevant prior art and deliberately withheld it, your patent can be held unenforceable even after it issues. The strategy isn't worth the risk—disclose everything and let the examiner decide what matters.
Publicizing your invention before filing destroys foreign patent rights immediately and starts a one-year deadline in America. Post a YouTube video demonstrating your invention? That's a public disclosure. Present at a conference? Public disclosure. Sell products on your website? Public disclosure. File a provisional application first if you need "patent pending" status before going public, or better yet, wait until after filing your non-provisional application.
Frequently Asked Questions About the Patent Filing Process
How much does it cost to file a patent application?
USPTO fees for micro entities total approximately $2,100 for a utility patent—that includes the $320 filing fee, $640 search fee, $160 examination fee, and $320 issue fee once you're allowed. Small entities pay double everything. Large entities pay four times micro entity rates.
But USPTO fees are the small part. Patent attorney fees typically run $5,000-$15,000 for straightforward mechanical inventions or simple software. Complex technologies like biotechnology or telecommunications push costs to $15,000-$30,000 because the technical specification and claims require more specialized knowledge and detail.
Design patents cost less—around $1,000 in USPTO fees and $2,500-$5,000 in attorney fees because they're simpler with fewer requirements. Provisional applications run $500-$3,000 total including attorney help since they don't require formal claims or drawings.
Can I file a patent application without an attorney?
Yes, and the USPTO even provides guides specifically for pro se (unrepresented) applicants. Legally, anyone can file their own application. Practically, it's like representing yourself in a complex lawsuit—possible but risky.
Pro se applicants have dramatically lower success rates than attorney-represented applicants. Patent law involves technical rules, legal precedents, and examiner standards that take years to learn. Mistakes in claim drafting often result in narrow protection that competitors easily design around, making your patent commercially worthless even if it issues.
Budget options exist: some attorneys offer unbundled services where they draft only the claims and you handle everything else. This reduces costs to $2,000-$5,000 while protecting the most critical section. Claims define your legal protection boundaries—get them wrong and your patent protects nothing valuable.
What happens if the USPTO rejects my application?
Rejection is normal—seriously, 90% of applications receive at least one rejection. Examiners start by citing prior art they believe anticipates your invention or makes it obvious. Your job is responding with amendments or arguments that overcome those rejections.
You get three months to respond, extendable to six months maximum by paying extension fees that escalate from $200 to $2,000 depending on how late you wait. Your response must address every rejection specifically. You can amend claims to add features that distinguish your invention from cited prior art. You can argue why the examiner misinterpreted your claims or misapplied the prior art. Usually you'll do both.
After your response, the examiner issues another Office Action (explaining what's still wrong) or a Notice of Allowance (you won). Expect 2-4 rounds of back-and-forth before reaching final resolution.
If the examiner maintains rejection after your best arguments, you can appeal to the Patent Trial and Appeal Board. Appeals cost several thousand dollars in attorney fees and take 2-3 years, but they succeed 40% of the time when examiners made legal errors. Alternatively, you can abandon this application and file a continuation with narrower claims or different claim strategies.
Does a patent application protect my invention internationally?
No. US patents provide zero protection outside the United States and its territories. Someone in Germany can manufacture your invention legally, and someone in China can export it to other countries without violating your US patent.
Foreign protection requires separate applications in each country or region. The Patent Cooperation Treaty (PCT) allows filing one international application that preserves your priority date in over 150 countries. You then have 30-31 months to decide which specific countries to pursue and pay for national phase applications in each one.
European patents cover multiple European countries through a single application at the European Patent Office. China, Japan, and South Korea require separate applications. Budget accordingly—comprehensive international patent protection easily costs $50,000-$100,000+ for major markets, plus annual maintenance fees after issuance.
Can I sell my product while my patent is pending?
Absolutely. "Patent Pending" status allows you to commercialize your invention during the 2-3 years while the USPTO examines it. You can't sue infringers until your patent actually issues, but the pending status deters many competitors who fear you'll get a patent and sue them retroactively.
Be careful about public disclosures though—they affect foreign patent rights depending on which countries you might want protection in. Many countries require absolute novelty at filing, meaning any public disclosure before filing destroys your rights there. If foreign markets matter, file before launching publicly or at minimum file a provisional application first.
Some inventors wait until filing before launching products to preserve maximum international options. Others prioritize speed to market and accept that foreign protection is lost. Your choice depends on business strategy and budget.
How do I check the status of my patent application?
Use Patent Center (USPTO's new system) or Public PAIR (the older system still maintained). Both require your application number and show all correspondence, Office Actions, amendments, and current status.
You'll see which examiner was assigned, what art unit (technology specialty group) is handling your case, when your next action is due, and whether any documents are pending. The systems update within 2-3 business days of examiner actions, giving you nearly real-time insight into prosecution progress.
Check your application status monthly during the first year while waiting for initial examination. Check weekly once prosecution begins and Office Actions start arriving. Missing a deadline because you forgot to check your status isn't an excuse the USPTO accepts.
Filing a patent application successfully requires meticulous attention to detail, technical precision in your drawings and claims, and strategic thinking about how broadly to claim protection versus what prior art will support. The process spans 2-3 years and costs $8,000-$15,000 minimum for straightforward inventions, but preparation dramatically improves your odds of success. Start with thorough professional prior art searches. Document every development stage. Choose provisional versus non-provisional strategically based on your budget and timeline. Follow each filing step carefully from preparing professional drawings to drafting legally sound claims. Understand realistic timelines and avoid the common mistakes that derail applications or waste money. Whether you hire an attorney (recommended) or file pro se (risky), knowing what happens at each stage helps you protect your invention effectively and navigate USPTO bureaucracy with your eyes open.
Every time you drive, run a business, or host a party, you're making decisions that could put you on the hook for someone else's losses. This guide covers four liability types from strict to vicarious, civil vs. criminal distinctions, negligence elements, fault-sharing rules by state, product liability claims, insurance coverage gaps, and why minimum policy limits leave you dangerously exposed.
When someone's wrongful behavior injures you, tort law creates the path to compensation — but miss one of four required elements and your case collapses. This guide covers intentional torts from battery to defamation, negligence claims comprising 90% of tort litigation, strict liability for defective products, compensatory vs. punitive damage calculations, state-by-state filing deadlines, and how
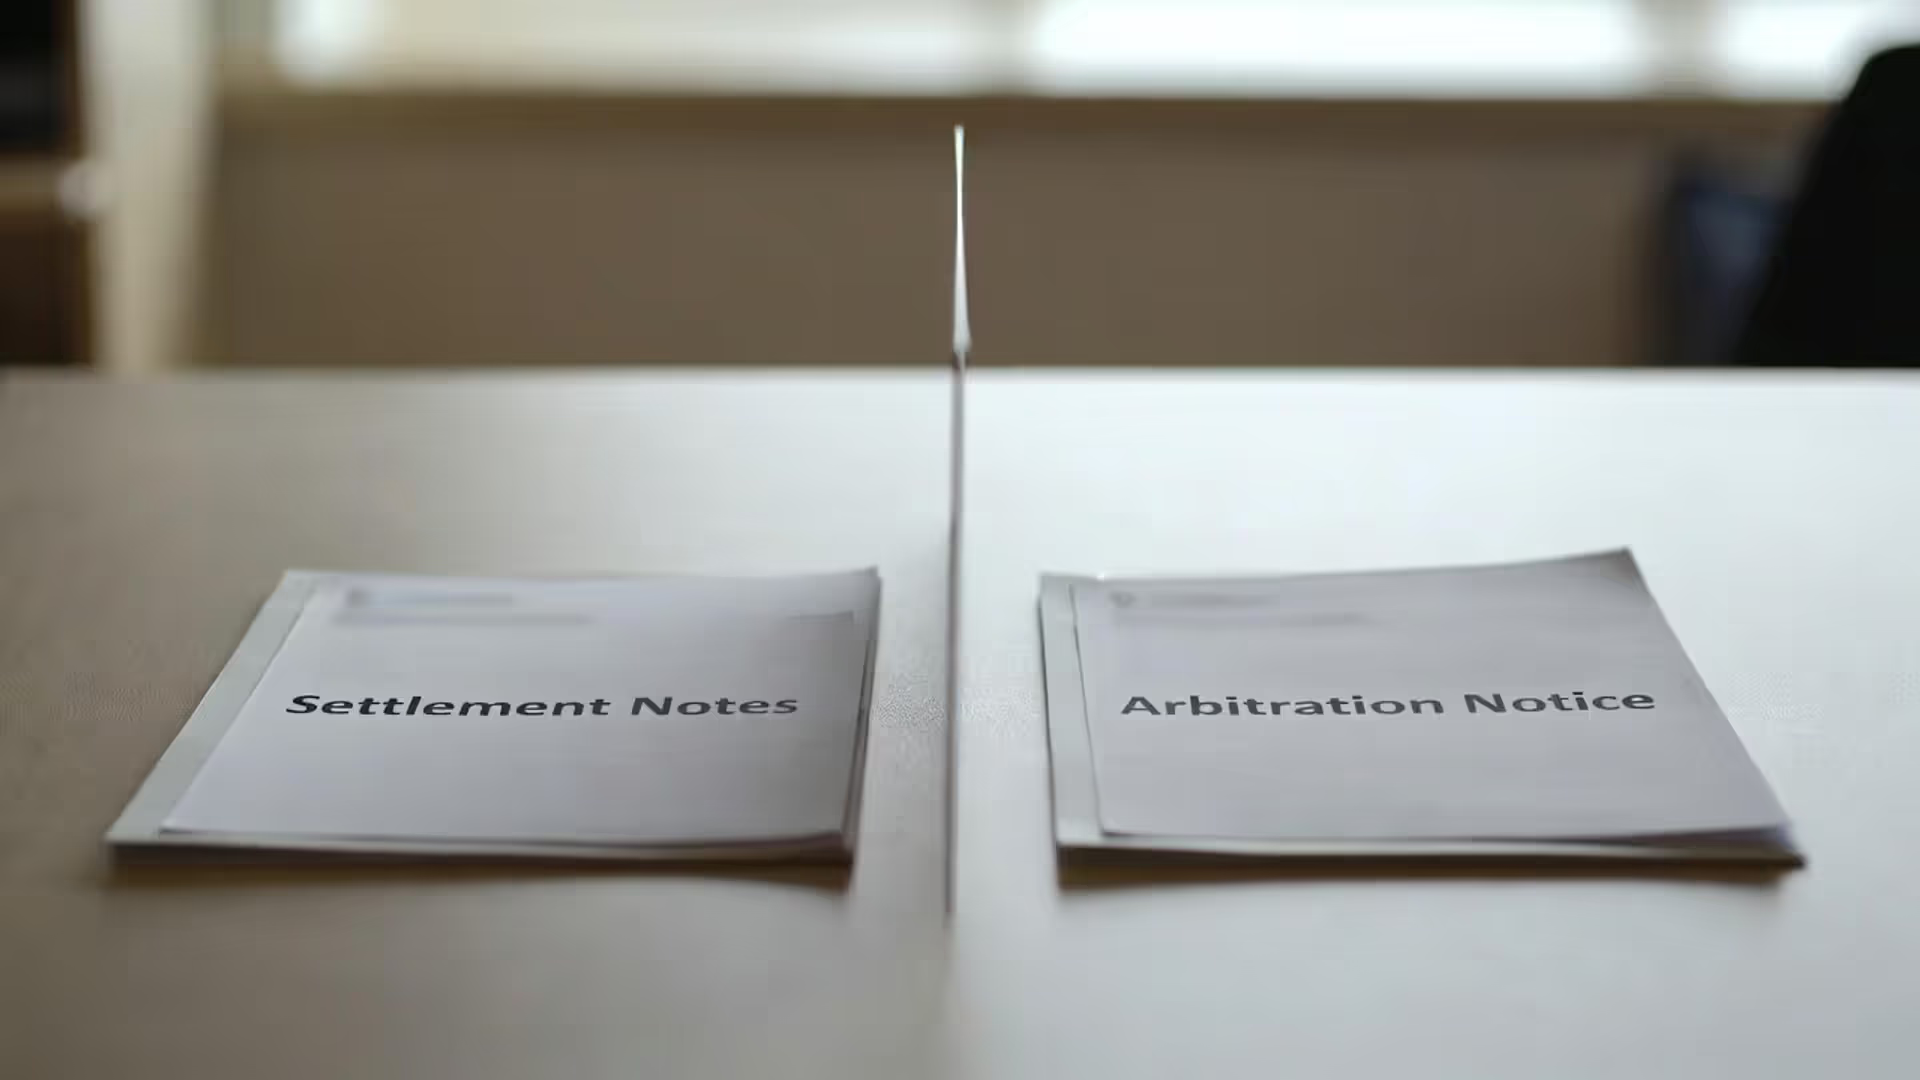
Mediation puts you in the driver's seat for $2,000-$10,000. Arbitration hands decision-making to someone else for $30,000-$100,000. This guide compares both processes step by step — from session structure and binding rules to appeal rights, confidentiality protections, and hidden costs — then shows exactly when each method works best and why trying mediation first saves money even if it fails.
Every court ruling builds on — or breaks from — what came before. This guide explains stare decisis, the difference between binding and persuasive precedent, how federal and state court hierarchies determine which decisions control, why circuit splits create geographic legal variations, when courts can distinguish or overrule prior rulings, and how attorneys use case law strategically to build win
The content on Legal Insights is provided for general informational purposes only. It is intended to offer insights, commentary, and analysis on legal topics and developments, and should not be considered legal advice or a substitute for professional consultation with a qualified attorney.
All information, articles, and materials presented on this website are for general informational purposes only. Laws and regulations may vary by jurisdiction and may change over time. The application of legal principles depends on specific facts and circumstances.
Legal Insights is not responsible for any errors or omissions in the content, or for any actions taken based on the information provided on this website. Users are encouraged to seek independent legal advice tailored to their individual situation before making any legal decisions.